This is an English translation of the practical guide our Paraguayan partners use to generate the documents required for permanent residency. It shows how to declare local Paraguayan income — by issuing invoices and filing the monthly IVA (VAT) declaration — which is one of the two ways to prove the economic solvency now required for permanent residency. See the background and the new requirements in our article: New conditions for permanent residency in Paraguay (from 6 July 2026).
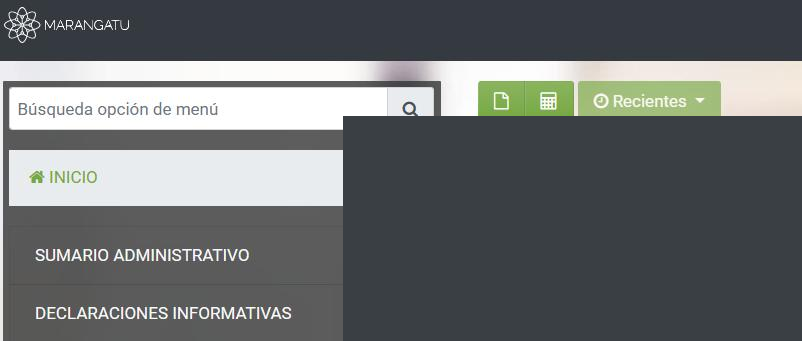
All steps are done online at the SET tax portal https://marangatu.set.gov.py/eset/, logging in with your cédula number as the username and the password you created after signing your RUC registration. The screenshots show the Marangatu interface in Spanish (that is exactly what you will see); the instructions are in English.
1. Request the timbrado (Solicitar Timbrado)
- This is a one-off step you need before you can issue virtual invoices in Marangatu for the first time. Once it is active you do not have to repeat it — if you already have an active timbrado, skip this step.
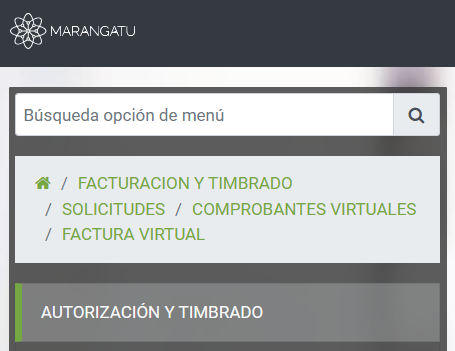
- Go to FACTURACIÓN Y TIMBRADO → SOLICITUDES → COMPROBANTES VIRTUALES → FACTURA VIRTUAL, then click AUTORIZACIÓN Y TIMBRADO.
- In “puntos solicitados” enter 1 and confirm using the green buttons.
2. Issue an invoice (Emitir Factura)
- To declare income you have to generate the corresponding invoice, with the details of the client you are invoicing.
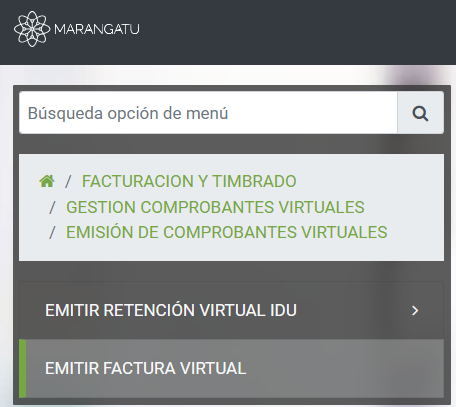
- Go to FACTURACIÓN Y TIMBRADO → GESTIÓN COMPROBANTES VIRTUALES → EMISIÓN DE COMPROBANTES VIRTUALES → EMITIR FACTURA VIRTUAL.
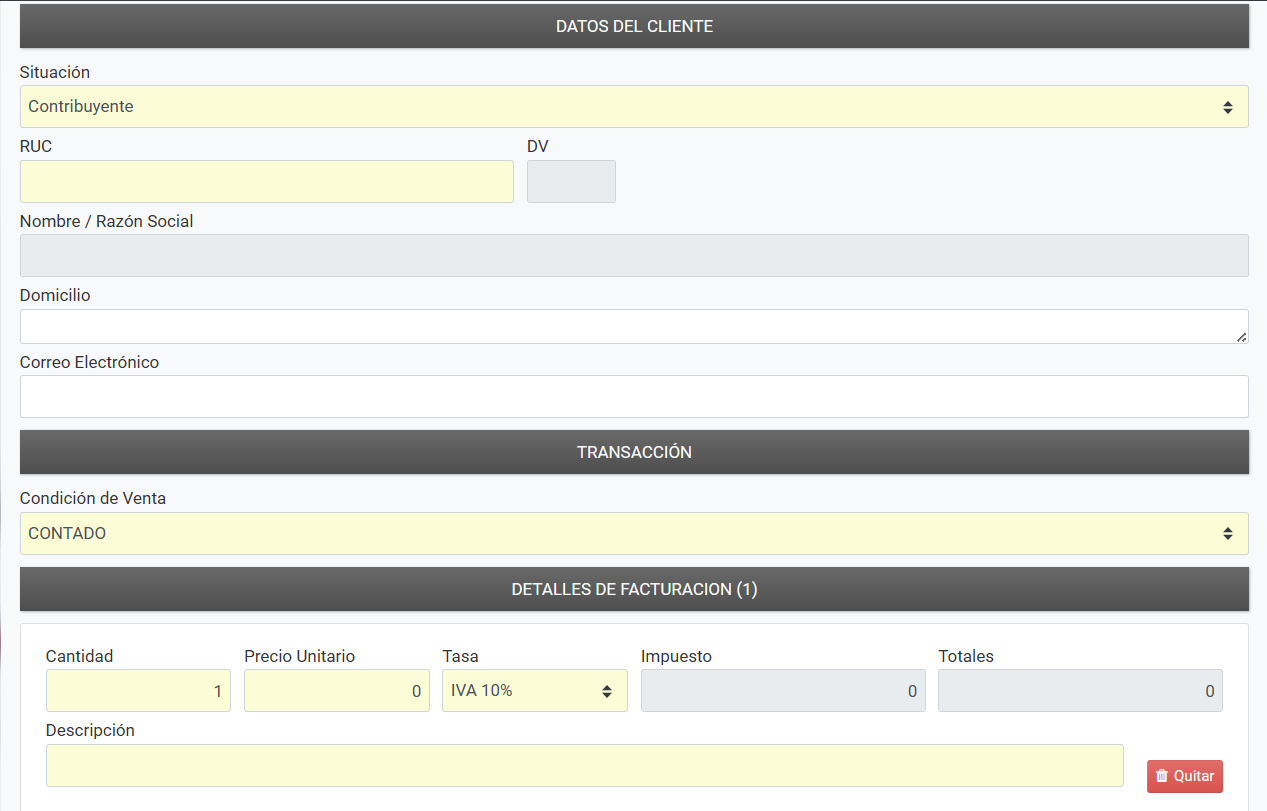
If the client has a Paraguayan RUC: set “Situación” to Contribuyente, type the digits before the dash (-) and let the system find the person/company automatically. Then enter the amount (a value above the minimum wage is recommended) in “Precio Unitario” and a service description. Fill in only the obligatory yellow fields.
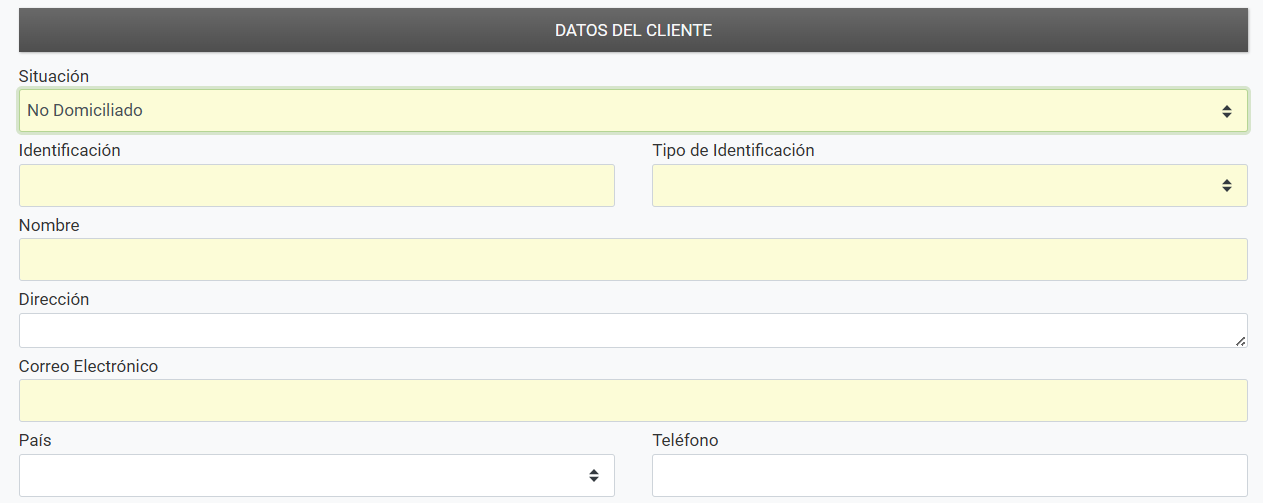
If the client is a foreign individual without a Paraguayan RUC, or a foreign company (for example a US LLC): set “Situación” to No Domiciliado and enter the passport or tax ID in the “Identificación” field.
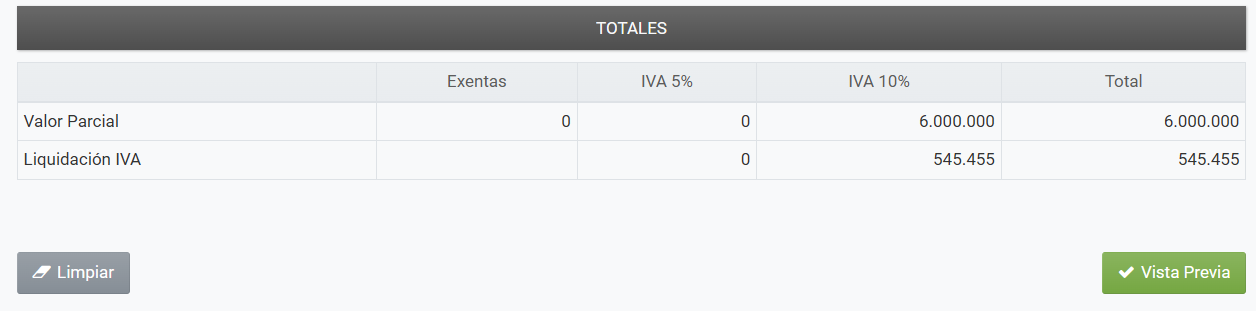
The IVA amounts are calculated automatically from the amount you enter. Click “Vista Previa” and then confirm the generated invoice.
3. Impute the invoices (Imputar las facturas)
- In the menu search box type GESTIÓN and select “Gestión de comprobantes informativos”.

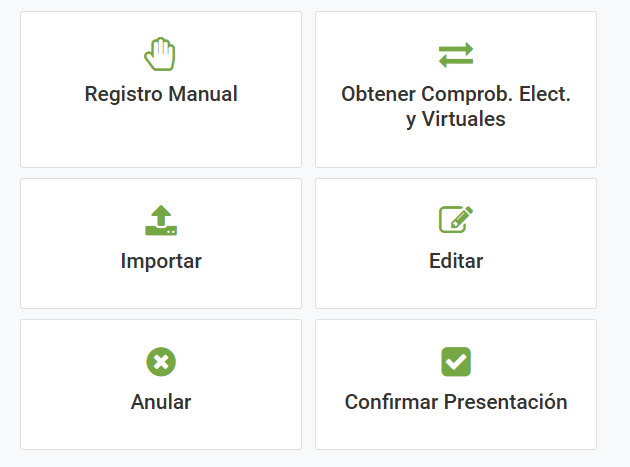
- Select “Obtener comprobantes electrónicos y virtuales”.
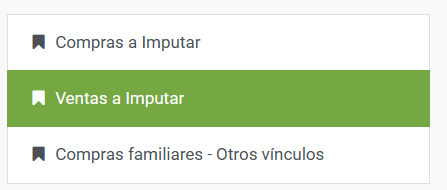
- Select “Ventas a imputar”.
- Select the year and month, click “Imputar todo”, then “Siguiente”, and confirm the total amount.
4. File the IVA declaration (Declaración de IVA)
- During the first week of each month you file the declaration for the income generated the previous month. Do not skip it — otherwise penalties (multas) are generated.
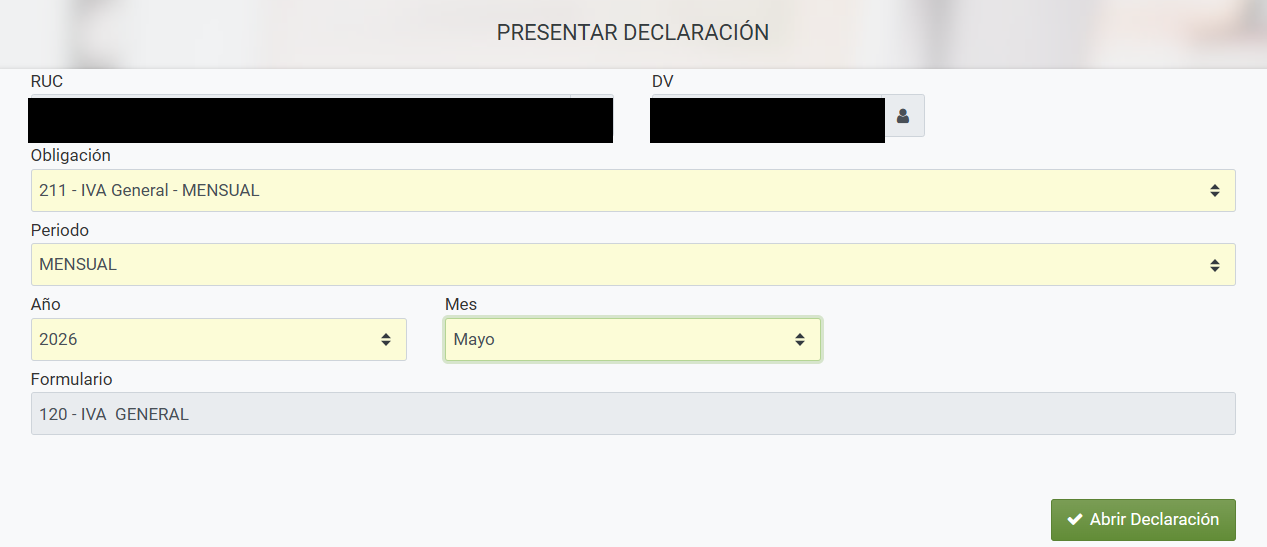
- On the home page, click the first green button to start a new declaration.
- Choose the obligation “211 – IVA GENERAL MENSUAL”, select the month and year, and open the declaration (form 120).
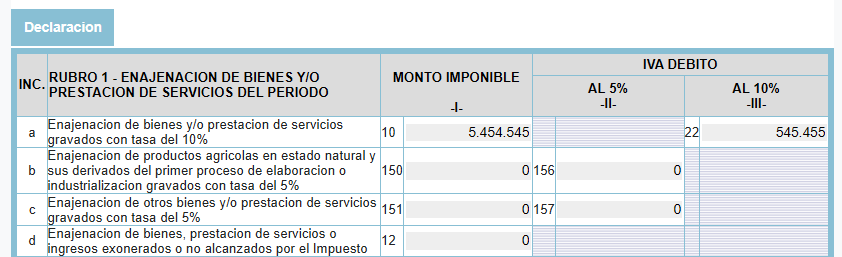
- In Rubro 1, item a), box (casilla) 10, enter the amount of the invoice generated the previous month (or the sum of invoices) divided by 11 and multiplied by 10 (i.e. INVOICE AMOUNT / 11 × 10); the corresponding IVA amount appears automatically.
- If you have local expense invoices to deduct, fill in the corresponding boxes too. This guide does not cover the deduction calculations — it is best to use an accountant to register them correctly and reduce the tax due.
- Click “Presentar Declaración” and confirm.
5. Submit the talón (Presentación de talón)
- In the menu search box type GESTIÓN again and select “Gestión de comprobantes informativos”, then select “Confirmar Presentación”.
- Select the month and year and click “Presentar Declaración” on the generated talón.
6. Download the declarations
On the home page, all of your latest IVA declarations (FORM 120) will be listed, ready to download.
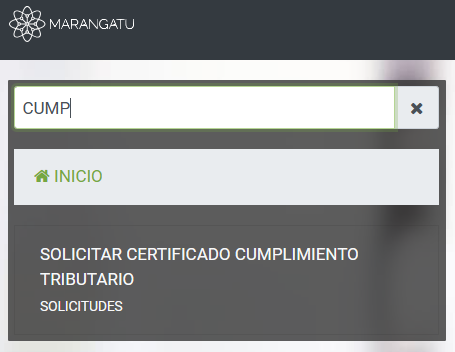
7. Download the tax-compliance certificate (Certificado de Cumplimiento Tributario)
- Type CUMP… in the search box and select “Solicitar Certificado Cumplimiento Tributario”, then generate and download the certificate.
- Note: it can only be generated if there are no pending amounts to pay (see step 9 for how to pay any pending amounts).
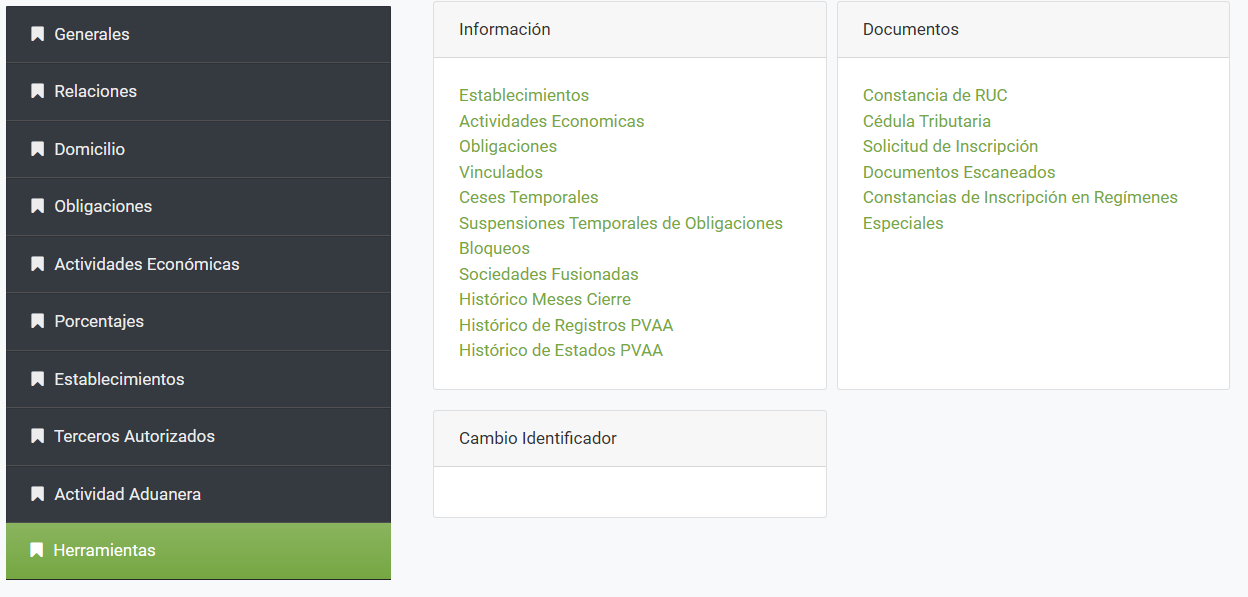
8. Download the RUC constancia and cédula tributaria
Top right, next to your name, select “Mi perfil” and then the last section, “Herramientas”; you will be able to download both documents — the Constancia de RUC and the Cédula Tributaria.
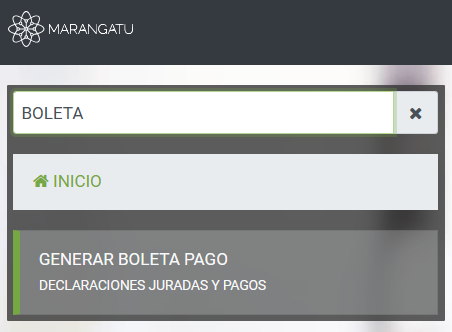
9. Generate the payment slip and pay the taxes (Boleta de Pago)
- After generating and confirming the monthly IVA declaration, type BOLETA in the search box, click “Generar Boleta de Pago” and download the generated payment slip.
- You can pay the boleta in any Paraguayan bank app under “pagar servicios”, selecting DNIT and entering the cédula or RUC and date of birth.
This guide does not cover particular cases or specific situations that could reduce the amount of tax payable; for those, consult an accountant. The authors accept no responsibility for errors, misunderstandings, improper use of the portal’s tools, or possible changes to the requirements of the Dirección Nacional de Migraciones.
Want us to handle all of this for you? At Liberation.Travel we help with the whole permanent-residency process in Paraguay — including issuing invoices and filing the monthly IVA so your economic solvency is properly documented before you apply. Read the full article on the new requirements →